
Logo Engraving: The Short Version
Logo engraving can add brand identity to handbag locks, buckles, hooks, plates and other metal hardware. Engraving feasibility depends on surface area, material, finish, logo detail and production method. Buyers should send vector artwork and placement requirements before sampling so the manufacturer can confirm what level of detail the chosen part and process can hold.
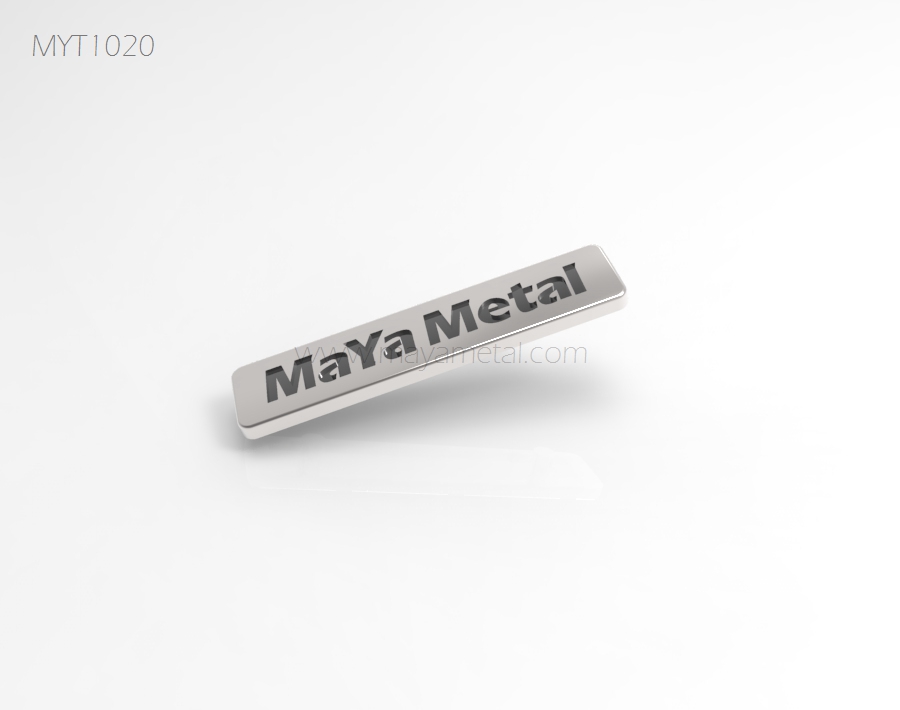
Engraving vs Stamping
Engraving removes a small amount of metal to create a recessed logo, typically using laser engraving or CNC engraving. Laser engraving suits fine lines, variable layouts and lower tooling cost, which makes it practical for sampling and smaller batches. CNC engraving cuts deeper and can give a sharper, more dimensional mark on thicker parts such as locks and buckles.
Stamping (or die striking) presses the logo into the metal during forming. A stamped logo is permanent, consistent across large volumes and often looks premium on brass parts, but it requires a dedicated die, so tooling cost and MOQ are higher. Debossed and embossed stamping also change the surface profile, which can affect how plating or coating sits on the part.
The right choice depends on part geometry, quantity, budget and how prominent the logo should be. For many projects, a manufacturer will recommend laser engraving for sampling speed and stamping for stable mass production of a signature hardware piece. A comparison of engraved logo hardware options can help narrow that choice before sampling.
Best Products for Logos
Flat or gently curved surfaces with enough open area are the safest places for a logo. Bag locks, buckle frames, logo plates, zipper pullers, key holders and large D ring bars commonly carry branding because they offer usable surface and visible placement on the finished bag.
Small or highly curved parts — fine chain links, narrow hooks, small studs — leave little room for legible detail. For those, a separate custom metal logo tag or an engraved plate attached to the bag is usually a better branding solution than forcing a logo onto a tiny component.
Placement also matters: a logo on the top face of a lock is read at a glance, while a logo on the underside or on the back of a buckle is more discreet. Buyers should mark exact position and orientation in the artwork package, because moving a logo after tooling has started can mean new tooling.
Artwork Requirements
Vector artwork (AI, EPS, PDF or SVG) is the standard input for engraving because it scales cleanly and converts directly into machine paths. Raster images such as JPG or PNG may need to be redrawn, which adds time and can change fine details.
When you send your artwork for review, the package should include logo size in millimeters, line weights, spacing between elements, placement dimensions on the part and the intended direction relative to the bag opening. If the logo includes text, confirm the font or supply outlined text so nothing shifts during conversion.
It also helps to state what the logo must not do — for example, whether thin lines may be thickened by the manufacturer to survive engraving and finishing. Approving that rule in advance avoids disputes when a physical sample differs slightly from the screen version.
Minimum Detail Risk
Every engraving process has a minimum line width and minimum gap it can hold. Very fine serifs, tight letterspacing and micro-detail that look perfect on screen can merge, fill in or break up once engraved on a small metal surface.
Risk increases further after finishing. Plating, PVD coating or antique finishing adds a layer over the engraving, and that layer softens the finest edges. A logo that reads clearly on a raw sample may look heavier once gold-tone plating or a dark finish is applied.
To manage this, manufacturers typically simplify or scale the artwork for production and show the adjusted version on a sample. Buyers should treat the approved physical sample — not the original artwork — as the standard for mass production.
Finish Interaction
Engraving can happen before or after surface finishing, and the sequence changes the look. Engraving before plating produces a uniform finish where the logo is the same color as the part, subtle and premium. Engraving after finishing can expose the base metal in the logo lines, creating contrast — but it can also expose an unplated surface that may tarnish or corrode if the base metal is not protected.
Hardware surface finish options such as matte, brushed and antique finishes mute engraved detail, while polished finishes make it pop but also show scratches more easily around the logo area. On PVD-finished parts, engraving through the coating is generally avoided unless the design intentionally wants contrast and the base material (such as stainless steel) can stay stable when exposed.
The interaction between logo depth, finish thickness and base material should be confirmed on a pre-production sample, especially for dark finishes where contrast and legibility behave differently than on gold-tone or nickel-tone parts.
Sample Approval
A logo sample should be checked for legibility, depth consistency, edge cleanliness, placement accuracy and orientation. Compare it against the approved artwork at the actual size, not enlarged on screen.
Also check the sample under the same conditions the bag will face: normal viewing distance, retail lighting, and next to the other hardware on the bag. A logo that looks sharp alone can look off-tone next to a differently finished lock or D ring.
Once the sample is approved, it becomes the reference standard for production inspection. Keep a signed or photographed master sample with the order documents so both sides have the same benchmark if questions arise later.

